SignGuy AI is a software platform for sign shops, wrap shops, print businesses, and visual-branding companies. It helps businesses manage customers, quotes, orders, proofs, invoices, production workflows, customer portals, webstores, and customer communications.
Business Name: SignTists Lab | Product: SignGuy AI | Owner: Donnell Nicole Black | Structure: Sole proprietorship
Support Email: support@signguy-ai.comMailing Address: 413 S Pittsburgh St, Connellsville, PA 15425
Effective date / Last updated: June 20, 2026
Product/Platform: SignGuy AIBusiness/Trade Name: SignTists LabBusiness Owner: Donnell Nicole BlackBusiness Structure: Sole proprietorship
We may send transactional email messages for account access, security, billing, support, operational updates, and requested service notifications.
Where users opt in, SignGuy AI may send account, billing, support, onboarding, and service-notification texts.
Mobile information, including phone numbers and SMS consent, is not shared with third parties or affiliates for marketing or promotional purposes. Information may be used only to provide requested services, customer support, transactional notifications, and communications related to the customer's relationship with the applicable business.
Where SMS consent is collected for SignGuy AI platform messaging, we retain records including consent timestamp, phone number, source, and disclosure version.
We use essential browser/session storage and operational analytics to run and improve the service. We do not state that mobile data is sold or shared for promotional marketing.
We use reasonable technical and organizational safeguards such as encrypted transport, access controls, tenant isolation controls, and monitored infrastructure practices.
We may use service providers to process data on our behalf for hosting, messaging delivery, and billing infrastructure. We do not share mobile numbers and SMS consent for third-party marketing or promotional use.
Users may request corrections, updates, or deletion where applicable by contacting us. We will review and respond according to applicable law and service constraints.
Business Name: SignTists LabProduct: SignGuy AIOwner: Donnell Nicole BlackBusiness Contact Email: support@signguy-ai.comBusiness Mailing Address: 413 S Pittsburgh St, Connellsville, PA 15425
SignGuy AI is a SaaS platform for sign shops, wrap shops, print businesses, and related visual-branding companies. The platform includes customer management, quotes, orders, invoices, production workflows, customer portals, webstores, reporting, and messaging features.
Your subscription grants your business access to SignGuy AI as a hosted software service. Access, features, and pricing depend on your subscribed plan and billing status. Use of the platform is subject to these Terms and the Privacy Policy.
Each tenant (shop/business using SignGuy AI) is solely responsible for communications sent to its own customers, including email and SMS/MMS content, timing, recipient lists, and consent records.
Subscription pricing, renewal, billing cadence, and cancellation conditions are defined by the active plan and checkout terms shown at purchase time. Additional processing and usage-based fees may apply based on enabled features.
To the maximum extent permitted by law, the service is provided on an "as is" and "as available" basis, without warranties of uninterrupted or error-free operation. SignTists Lab disclaims liability for indirect, incidental, special, or consequential damages. Direct liability, if any, is limited to amounts paid for the service under applicable law.
Governing law and venue placeholders apply as configured in your signed agreement or order form where applicable.
For questions regarding these Terms:Support Email: support@signguy-ai.comBusiness Mailing Address: 413 S Pittsburgh St, Connellsville, PA 15425Business Name: SignTists Lab | Product: SignGuy AI | Owner: Donnell Nicole Black
Business Name: SignTists LabProduct: SignGuy AIOwner: Donnell Nicole BlackSupport Email: support@signguy-ai.comMailing Address: 413 S Pittsburgh St, Connellsville, PA 15425Response Time: Typically within 24 hours
To receive SMS/MMS messages from SignGuy AI (operated by SignTists Lab): message frequency varies; message and data rates may apply; reply STOP to opt out; reply HELP for help. Consent is not a condition of purchase. See our Privacy Policy and Terms of Service.
SignGuy AI is a software platform built for sign shops, wrap shops, print businesses, and related visual-branding companies. The platform helps businesses manage customers, quotes, orders, proofs, invoices, production workflows, customer portals, webstores, and customer communications.
Built by a sign shop operator, for sign shop operators. No investors. No committees. Just software that works for the industry.
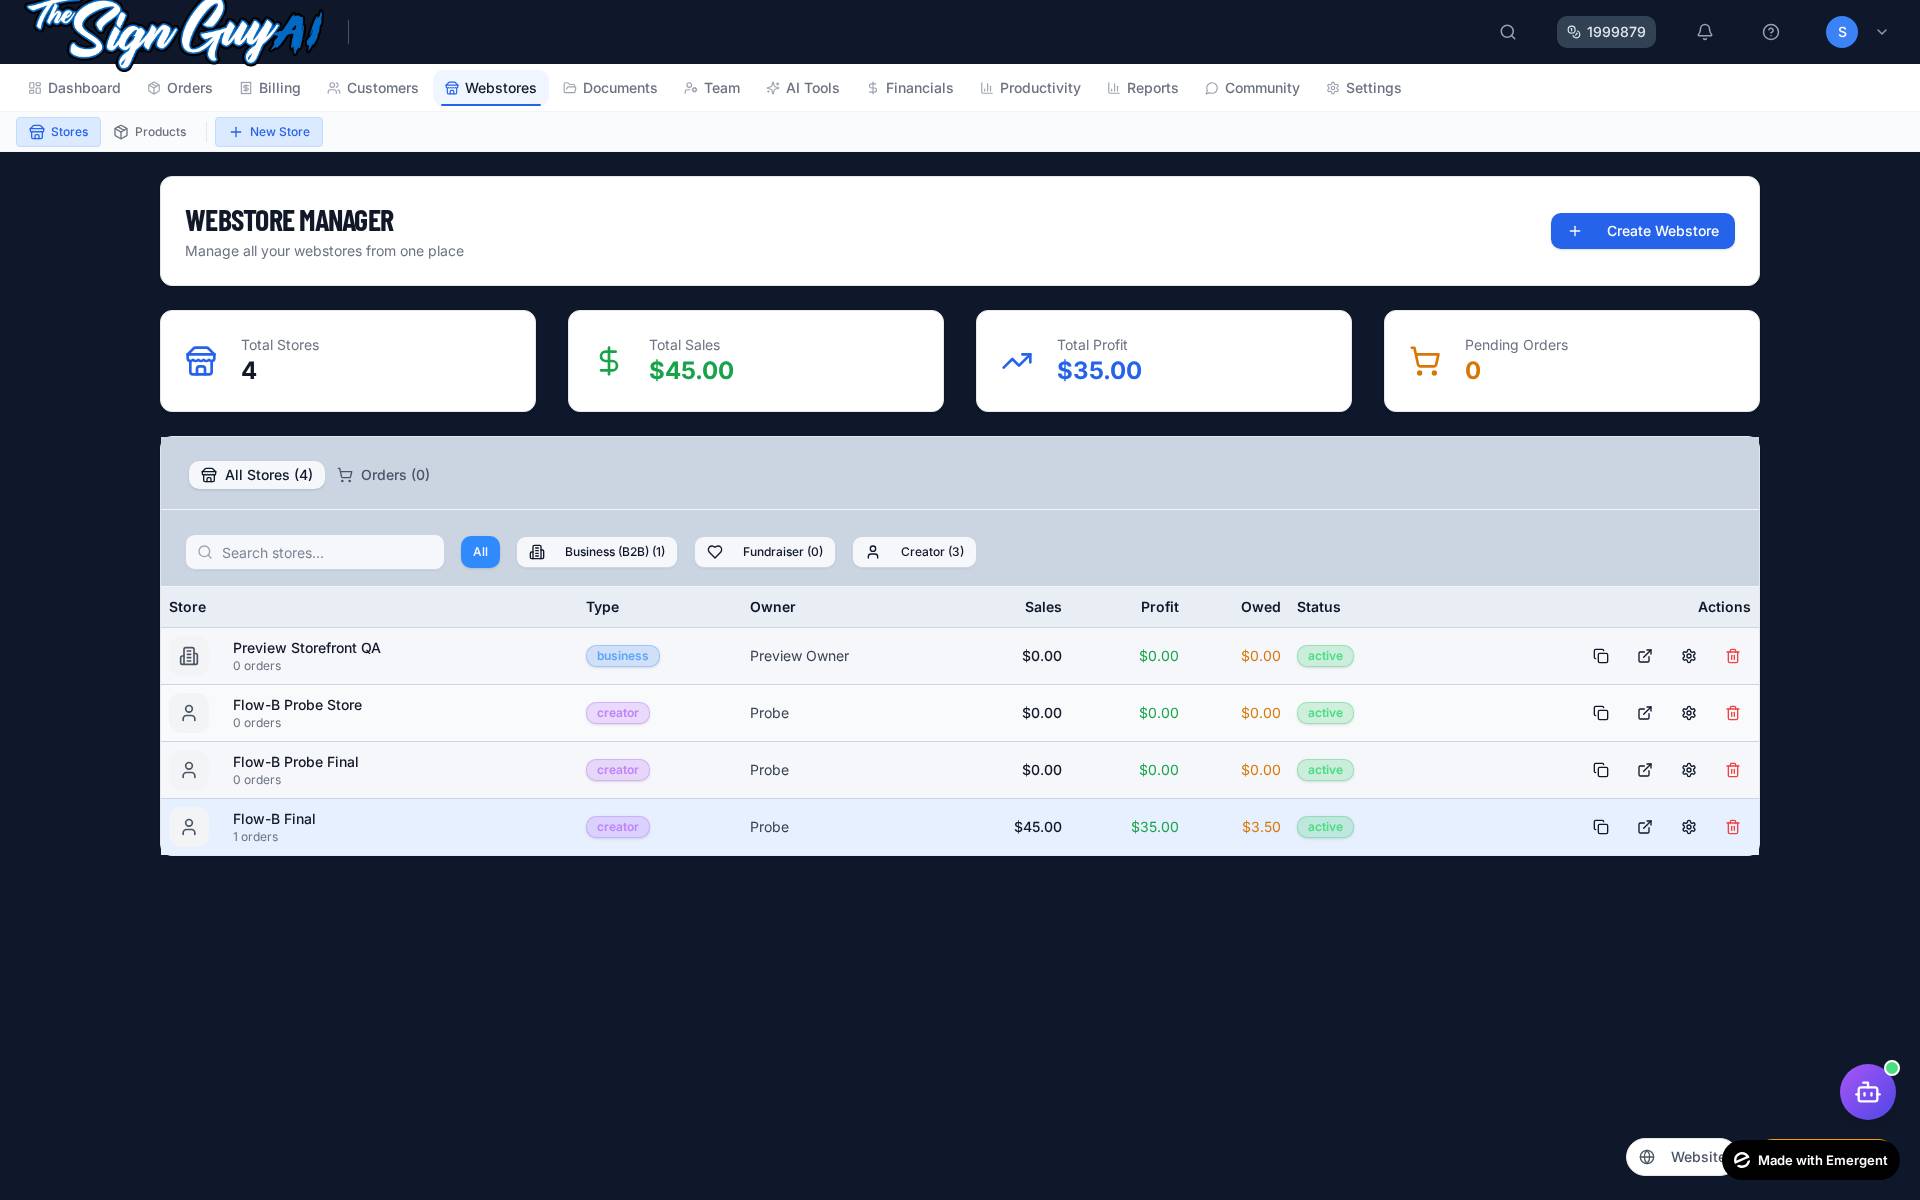
Webstores let you sell products online, route checkout into your production pipeline as orders, and use Stripe Connect for payments when enabled.
Before creating a webstore, set up your products:
When Stripe Connect is enabled: