Learn how to manage your customer database, track their information, and give them access to the customer portal.
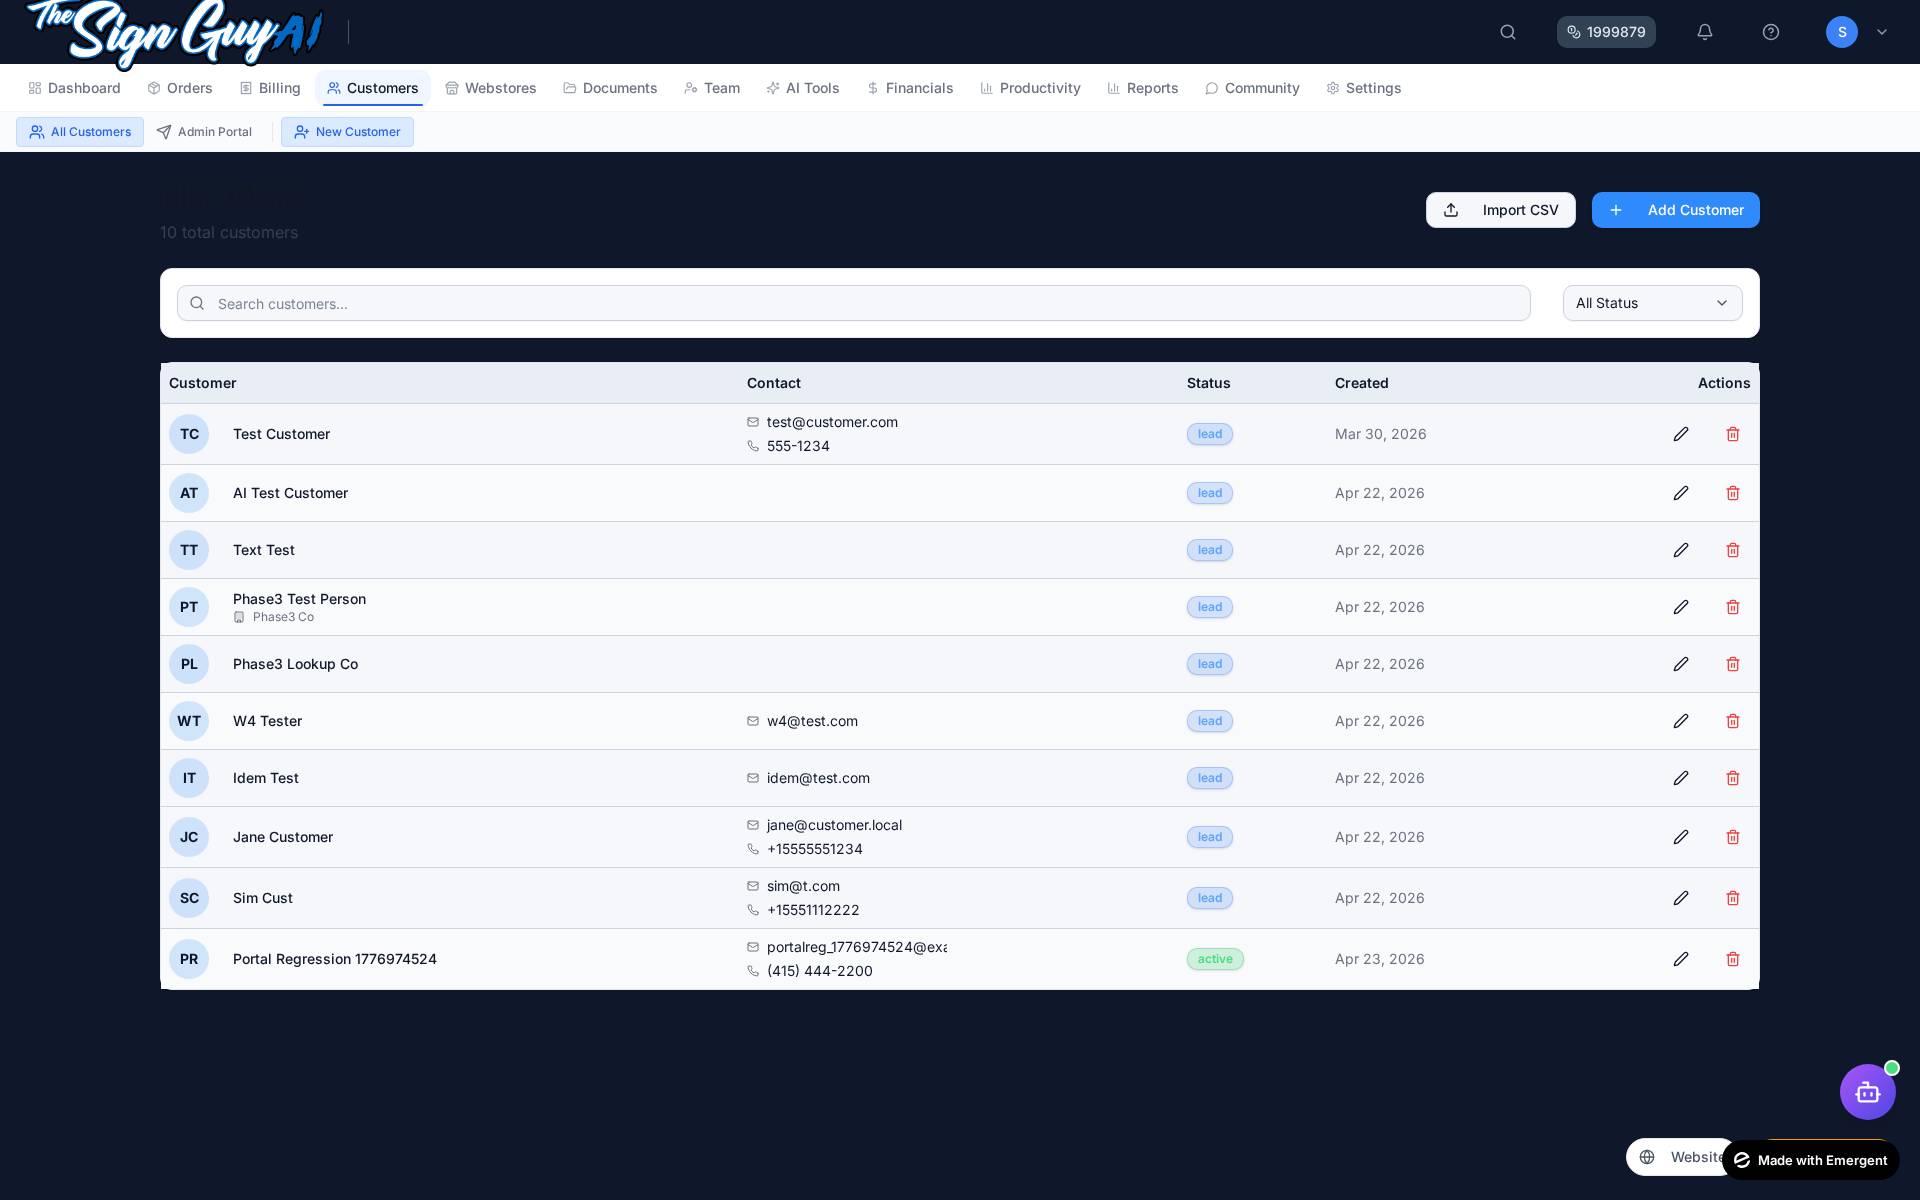
Customers list with search, status filters, and quick actions
Overview
The Customers module is your central hub for managing all client information. Every quote, job, and invoice you create will be linked to a customer record.
Add Customers
Search & Filter
Edit Details
Portal Access
Adding a Customer
To add a new customer:
1Navigate to Customers from the sidebar
2Click the "Add Customer" button in the top right
3Fill in the customer information:
Name (required) - Customer's full name
Email - For sending quotes/invoices and portal access
Phone - Contact phone number
Company - Business name if applicable
Address - Billing/shipping address
Notes - Internal notes about the customer
Bulk Import & Export
Already have a customer list somewhere else? Bring it in (or take it out) with the CSV buttons at the top of the Customers page.
• If any row fails validation, the whole import is rolled back and an error message tells you which row was bad — no half-imported data.
• Use this to onboard a new tenant from another CRM in one shot.
Export CSV
• Click Export CSV on the Customers page header.
• Downloads every customer record (name, email, phone, company, address, status, notes, created date).
• Use this for end-of-month reporting, backup, or migrating away.
Welcome email: when you add a customer with an email address, the system can automatically send a "welcome" email from your shop. Toggle it under Settings → Notifications → Send welcome email on customer create (default ON).
Customer Branding ProfileNew
Every customer record now has a Branding tab that stores their brand information in one place. The AI Branding Tools can pre-fill from this profile and save outputs (taglines, logos, brand kits) directly back to it.
What you can store
• Business name, industry, target audience, brand personality
• Brand voice notes, USP, things to avoid, key competitors
• Brand colors (hex), font suggestions, brand-kit text
• Saved taglines (with one selected as the active tagline)
• Saved logo concepts (up to 3)
How to use it
1Open a customer from the Customers list. Click the Branding tab (5th tab).
2Click Edit, fill in what you know about their brand, and Save.
3Use the three CTAs at the top of the tab — Brainstorm Ideas, Create Brand Kit, Logo Concepts. They open the matching AI tool with this customer pre-attached and the form pre-filled from the profile.
4Run the AI tool. The result panel has "Save to Customer Branding" buttons that push the output (tagline / logo / brand kit) straight back to the profile.
5Re-open the customer's Branding tab to see the saved items, with delete buttons next to each.
Why it matters: Outputs from the AI Branding tools no longer "die" in your AI history. Everything stays organized on the customer record so the next time you work with that customer, you don't start from scratch.
Customer Portal Access
Customers with an email address can access the Customer Portal where they can:
View and approve quotes
Track job progress
View and pay invoices
Message your shop directly
Download files and artwork
Note: Customers access the portal at /customer-portal/login using their email.
Searching Customers
Use the search bar at the top of the Customers page to quickly find customers by name, email, or company. You can also filter by status (Active/Inactive).